Managing Media in WordPress
Isaiah Bollinger
Isaiah Bollinger
One of the best things about WordPress is its amazing capability of storing and managing media assets, like images, for example. You can simply add media with the click of a button and drag an image right into the platform. This is an incredibly powerful feature that allows even the most non-technical person to manage images and add images to a blog post or WordPress page.
How to Add Images to a Blog Post or WordPress Page
Typically, you will add media from a post or page as shown below.
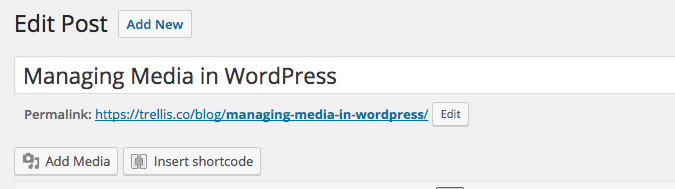
You can literally add media at the top of any page or post with the click of a button. From there dragging and dropping to the media library is easy.

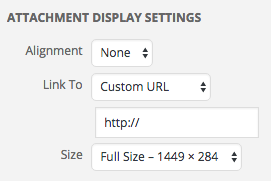
Once you are ready to insert an image or piece of media into your page or post, you may want to fill out the information on the right-hand column. This allows you to insert meta information in the alt tag so that Google can understand what your image is about, contextually, since it can’t crawl pixels. You can also edit the image on the right-hand side which is a great tool if you want to do some quick cropping of the image.

You can also choose what size to display the image here, which can also be altered in the text view of the WYSIWYG. Here you can align the image, and link it to another page or area on your site or outbound site.
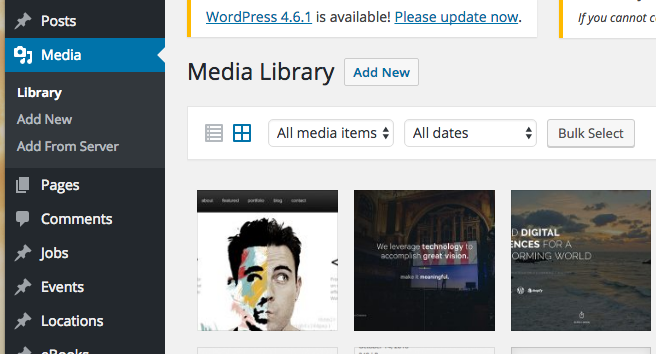
You can also view all the media at once and either select one image at a time, sort, or bulk select. The media section is located below the posts in WordPress on the left-hand sidebar. With the ability to search and filter through images, in most cases, you can quickly get to what you need. You can also leverage images directly from the server with the “Add From Server” functionality.
How to Edit Images Within WordPress
It’s always best to edit your images before you upload them in WordPress, but you are capable of doing some editing inside the WordPress Library. You simply click the Edit button within the Media Library and you’ll be presented with a screen like this:
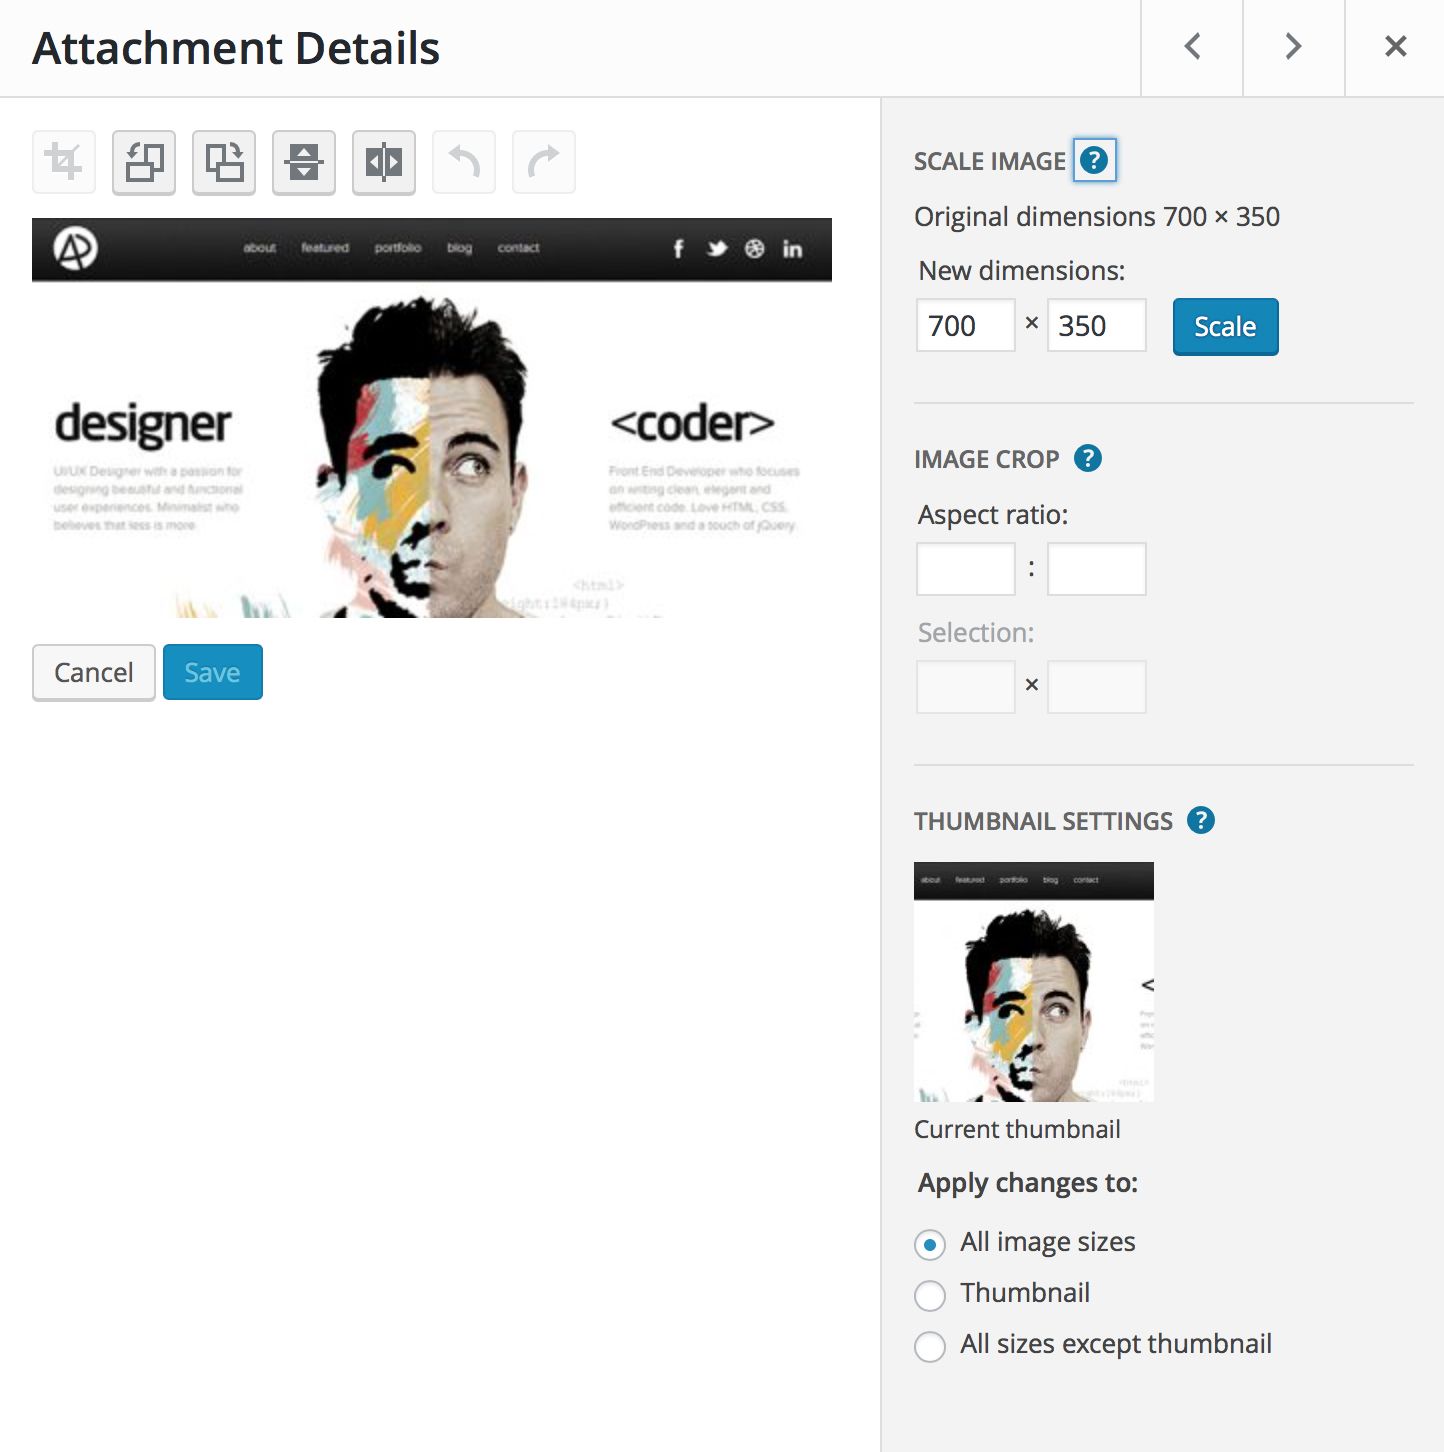
You are able to rotate, flip, scale and crop any image in your Media Library. You can also add a caption, alt text, description, and change the filename. You can apply the changes to all sizes of the same image if you’d like by clicking the “All image sizes” radio button under Thumbnail Settings.
How to Change the Media Library Upload Limit
One nifty trick with the WordPress is you can change the upload limit. If you ever attempt to upload a large media file, there’s a chance an error message will pop up saying,
“The uploaded file exceeds the upload_max_filesize directive in php.ini”
Luckily, you can easily fix this. I would like to first point out that the file upload limit is there for a reason. You don’t want to fill your website with large files that will decrease your site speed. A slower site speed guarantees a poor experience for your users, and most of those people will not return to your site. However, there are some minor circumstances where you need to upload a video or audio file might still be too big. Try your absolute hardest to decrease the file sizes because there should be no reason for your media files to exceed your upload limit.
Jenni McKinnon wrote a great article about increasing the media file upload limit. You can also check out this the free Increase Max Upload Filesize plugin.
Leave a Comment